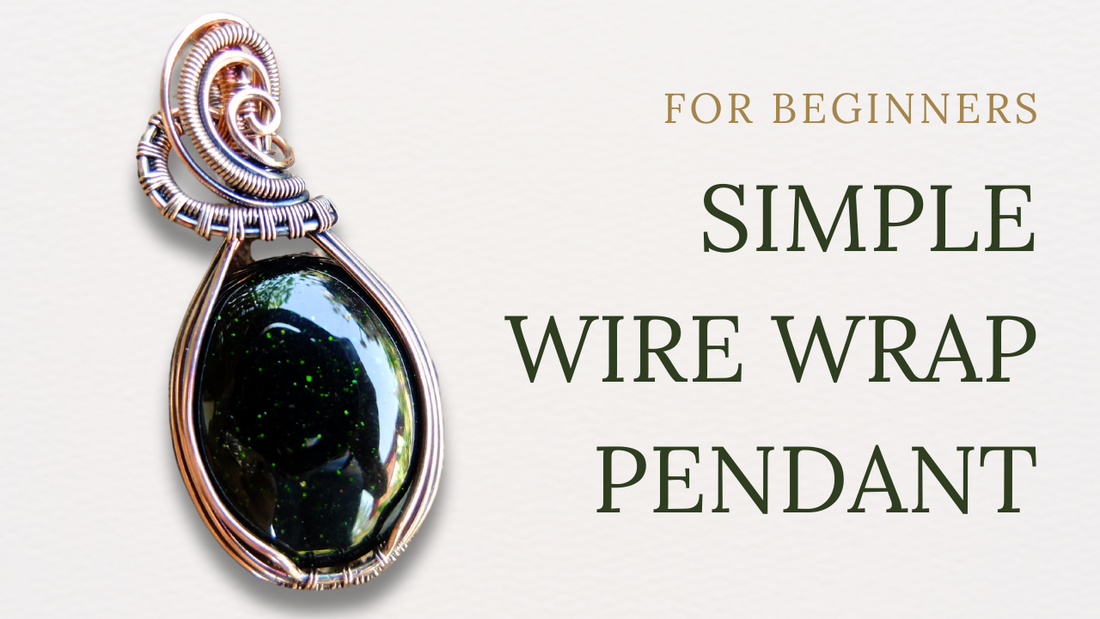
Beginner Wire Weave Pendant: Step-by-Step Tutorial
By Elizabeth SchultzToday, I'm going to walk you through creating a beautiful wire weave pendant using an oval cabochon and a couple of wire gauges. This project is perfect for beginners, so if you’re just starting out, you’re in the right place!
Now, let’s gather our tools and materials and get started!
Materials and Tools:
- Oval Cabochon: I’m using a 25x8 mm oval cabochon
-
Wire:
- 20-gauge wire for the base wires.
- 28-gauge wire for weaving.
-
Tools:
- Chain nose pliers
- Round nose pliers
- Flush cutters
- Ruler
- Sharpie
Step 1: Preparing the Base Wires
- Cut Your Wires: Start by cutting four segments of your 20-gauge wire, each 8 inches long.
- Mark the Center: Lay the wires on your ruler and find the center (4 inches from either end). Use a Sharpie to mark the center on each wire as a reference.
Step 2: Starting the Weave
- Anchor the Weaving Wire: Take one of your base wires and wrap your 28-gauge weaving wire around it three times, just outside the center mark. This will be the bottom base wire.
- Add the Second Base Wire: Place a second base wire on top of the first, aligning the center marks. Wrap the weaving wire around both base wires two times, then bring the weaving wire up between the two wires.
- Continue Adding Base Wires: Add the third base wire on top, wrapping around the next two wires as before. Repeat this process with the final base wire.
Step 3: Creating the Triangle Pattern
- Form the Triangles: Once all four base wires are in place, start forming the triangular pattern by bringing the weaving wire in between the wires as you wrap. Create three small triangles by wrapping the wire between different pairs of base wires as described earlier.
- Secure the Weave: After forming the third triangle, secure the weave by wrapping the weaving wire around the bottom base wire three times. Use the pull-and-twist method to remove any excess wire, avoiding sharp ends.
Step 4: Shaping the Pendant
- Curve the Wires: Gently curve the wires to form a frame around your cabochon. Ensure the wires sit evenly and snugly around the stone.
- Bend the Wires: Use your chain nose pliers to bend the wires around the cabochon, creating a secure frame for the stone.
Step 5: Weaving the Bail
- Start the Bail Weave: Select the two front base wires and begin a lashing weave. Wrap the weaving wire around the outer base wire three times, then wrap around both base wires two times, bringing the wire between the base wires.
- Continue Weaving: Repeat the lashing weave until you have about an inch of weave, then secure the wires together and trim any excess.
Step 6: Securing the Cabochon
- Position the Stone: Place your cabochon in the frame and adjust the wires to hold it securely. You may need to bend the wires slightly to ensure a snug fit.
- Bend the Bail: Bend the bail wires backward over a dowel or pencil to create a loop. Wrap the bail wires around the base of the pendant to secure it in place.
Step 7: Finishing Touches
- Trim and Tuck the Wires: Use your flush cutters to trim the excess wire, then tuck the ends neatly with your chain nose pliers.
- Add Decorative Elements: If you wish, you can add additional decorative elements like a coil or swirl using your remaining wire.
Conclusion: And there you have it—a beautiful wire-woven pendant perfect for beginners! If you would like to stay up to date on the latest tutorials and videos, sign up for the Learn to Weave Newsletter! You’re also invited to join our Facebook group, where you can share your work and connect with other artisans.
- - - - - - - - - - - - - - - - - - - - - - - - - - - - - - - - - - - - - - - - - - - - - - - - - - -
I hope you enjoyed this article and found it helpful in creating your own beautiful jewelry. If you have any questions or want to share your work, don't hesitate to reach out.
Happy weaving!
