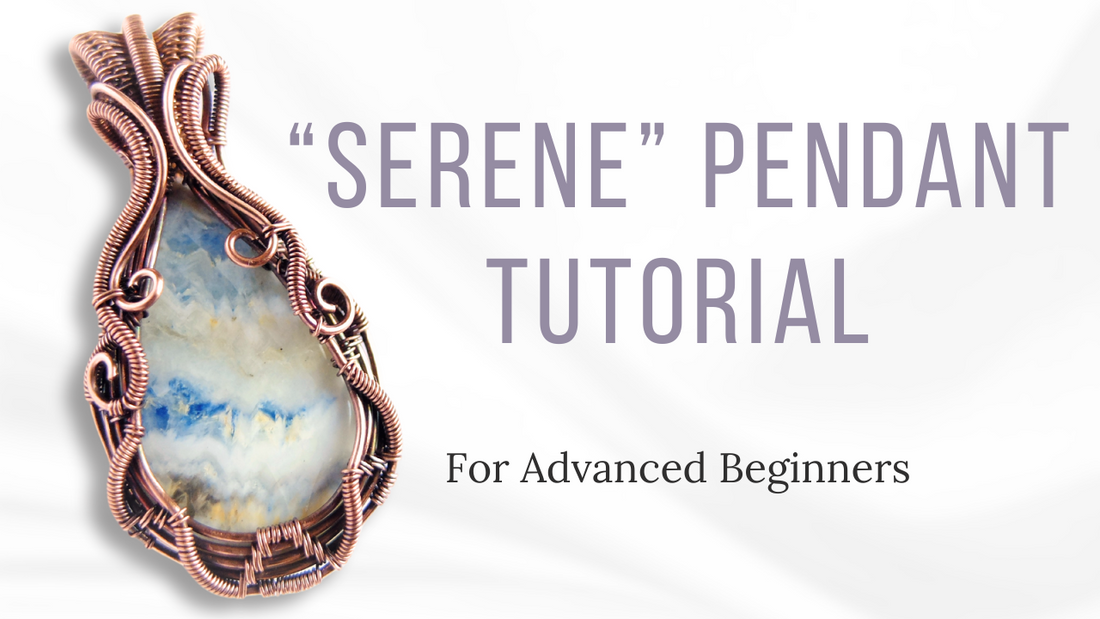
Creating the "Serene" Wire Weave Pendant: Step-by-Step Tutorial
By Elizabeth Schultz
Step 1: Gather Your Tools and Materials Before we get started, let's make sure you have all the tools and materials you'll need:
- Tools: chain nose pliers, round nose pliers, flush cutters, flat nose pliers (optional), spring clamp or ring clamp, Sharpie, and blue painter's tape or scrap paper.
- Materials: medium to large teardrop cabochon, 20 gauge round wire, and 28 gauge round wire for weaving.
Step 2: Prepare Your Gemstone Start by wrapping blue painter's tape around your gemstone and marking the top with a Sharpie. This helps with accurate measurements and placement of wires.
Step 3: Begin the Weave Using the marked top as a guide, determine the center of your wire and start weaving around the top two base wires. Follow the detailed weaving instructions provided in the video, ensuring you wrap the weaving wire around the correct base wires.
Step 4: Create the Frame Continue weaving until you reach the other end of your marked gemstone. Then, work from the middle towards the opposite side of the frame, mirroring the weaving pattern on the other side.
Step 5: Weave the Double Bail Separate the wires to create a V shape for the bail. Begin weaving around the outer base wire to form the bail, following the instructions provided in the video.
Step 6: Finish the Bail Secure the bail by wrapping the weaving wire around the base wires and coil it to the desired length. Bend the bail over to create a loop for the chain.
Step 7: Create the Back Using the remaining base wires, weave a decorative pattern on the back of the pendant, securing any loose ends with weaving wire.
Step 8: Add Accents Finish off the pendant by curling the wire ends and creating decorative swirls using round nose pliers.
Step 9: Secure the Stone Place your gemstone into the frame and secure it by weaving the weaving wire through the loops and base wires on the back of the pendant.
Step 10: Final Touches Trim any excess wire and ensure all elements are securely in place. Adjust the pendant as needed to ensure symmetry and balance.
Step 11: Finishing Once you're satisfied with your pendant, give it a final inspection and make any last-minute adjustments. Your "Serene" wire weave pendant is now complete!
I hope you enjoyed this tutorial and found it helpful in creating your own beautiful pendant. If you have any questions or want to share your work, don't hesitate to reach out.
Happy weaving!


