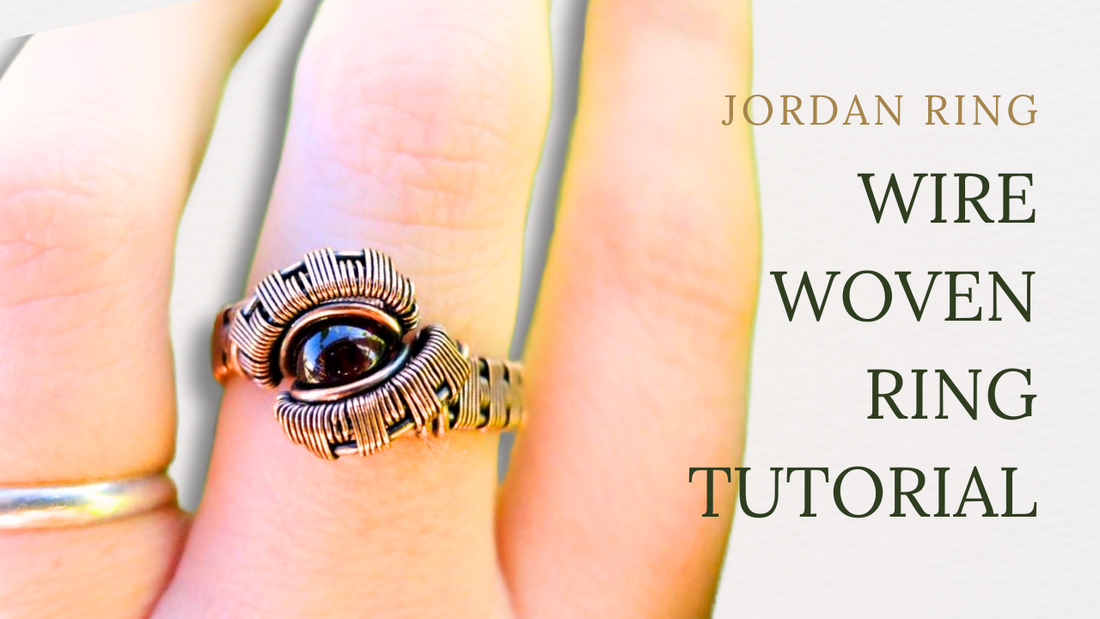
Jordan Ring Tutorial: Creating a Stunning Wire-Wrapped Ring
By Elizabeth SchultzIn this tutorial, you'll be walked through the process of creating this stunning Jordan Ring. This ring features a woven band and a central gemstone, making it a perfect addition to any jewelry collection.
Materials and Tools Needed:
-
Materials:
- Four segments of 20 gauge wire (length: your ring size plus 4 inches)
- 28 gauge weaving wire (about 18 inches)
- 6 mm cabochon stone
-
Tools:
- Chain nose pliers
- Flush cutters
- Flat nose pliers (optional but useful)
- Spring clamp (optional but useful)
- Ring mandrel
- Sharpie
- Ruler
Step-by-Step Instructions:
Step 1: Preparing the Wires
-
Measure and Cut the Wires:
- Measure and cut four segments of 20 gauge wire. These wires will form the base of your ring.
- Lay the wires flat on a ruler to find the center. For a size six ring, you will need 2 inches of weaving, so mark 1 inch on either side of the center.
-
Set Up for Weaving:
- Use a spring clamp to hold the wires together. This will help keep them aligned as you weave.
Step 2: Starting the Weave
-
Begin Weaving:
- Take the 28 gauge weaving wire and position it between the two center base wires.
- Wrap the weaving wire around the second-to-last base wire three times. Make sure the wraps are snug but not too tight.
-
Continue Weaving:
- Wrap around the two center wires three times.
- Next, wrap around all four base wires five times. Ensure that the wires sit close but not too tight to allow room for more weaving.
Step 3: Weaving the Band
-
Weave Pattern:
- Follow the pattern of wrapping around the center two wires three times and then all four wires five times.
- Continue this pattern until you reach the opposite side, creating a consistent and neat weave.
-
Final Adjustments:
- Use flat nose pliers to compress and adjust the weave, ensuring it sits neatly.
Step 4: Forming the Ring
-
Wrap Around the Mandrel:
- Once the weaving is complete, cut a long tail of the 28 gauge weaving wire.
- Place the woven section around a ring mandrel to form the ring shape. Make sure there is space on top for the gemstone.
-
Setting the Stone:
- Position the cabochon on top and ensure there is enough space.
- Use flat nose pliers to flatten the sides slightly if needed.
Step 5: Creating the Stone Setting
-
Form the Seat:
- Direct the weaving wire over the top, then underneath and through, creating a secure seat for the stone.
- Wrap the weaving wire around the bottom base wire and then over and under, repeating this 6-8 times depending on the size of your stone.
-
Secure the Stone:
- Form a small loop or “bubble” over the stone with the innermost wire to secure it.
- Adjust the wire as necessary using pliers, being careful not to damage the stone.
Step 6: Finishing Touches
-
Weaving the Ends:
- Use the remaining weaving wire to weave the sides, repeating the pattern of three wraps around the inner wires and five wraps around all three.
- Finish by wrapping around the bottom base wire and securing with pliers.
-
Trim and Tuck:
- Trim the excess wire with flush cutters, ensuring the ends are tucked securely to avoid sharp edges.
- Make any final adjustments to the ring shape and weave for a polished look.
Step 7: Enjoy Your New Ring!
- - - - - - - - - - - - - - - - - - - - - - - - - - - - - - - - - - - - - - - - - - - - - - - - - - -
I hope you enjoyed this tutorial and found it helpful in creating your own beautiful jewelry. If you have any questions or want to share your work, don't hesitate to reach out.
Happy weaving!

My name is Elizabeth Schultz and I'm the jewelry designer behind Ellie's Handcrafted Jewelry. I've been making jewelry for about 16 years and have been teaching jewelry making for a little over 3 years. My goal is to help others learn the beautiful art of wire weaving.

