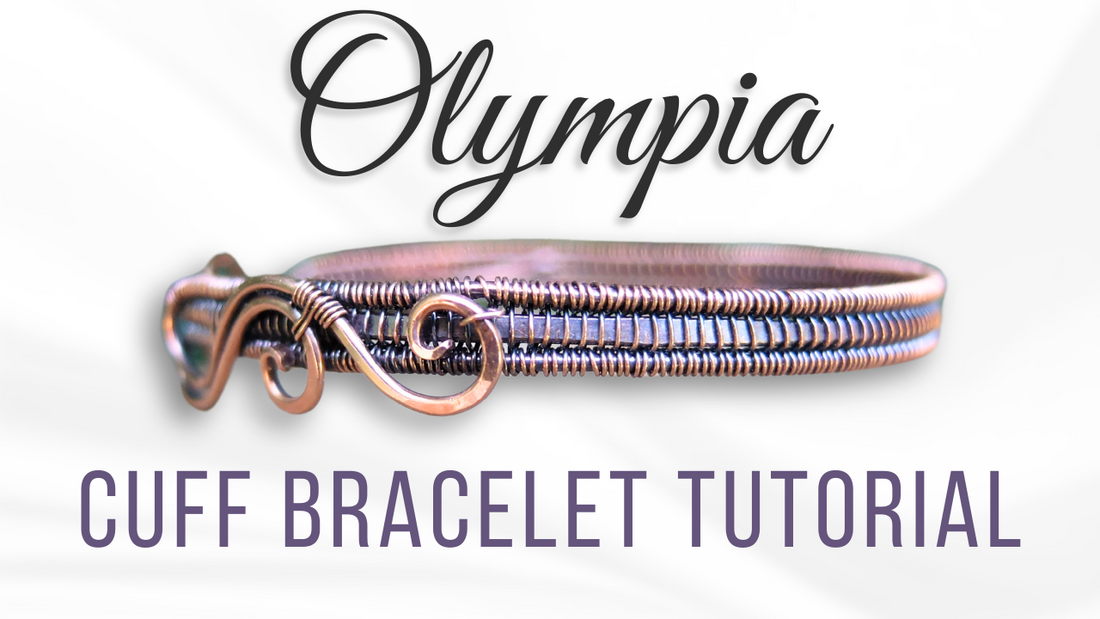
"Olympia" Cuff Bracelet Tutorial
By Elizabeth SchultzFollow this step-by-step tutorial to make your own Olympia Cuff Bracelet.
Materials Needed:
- 1 segment of 16 gauge wire, 10 inches long
- 2 segments of 18 gauge wire, each 10 inches long
- 1 segment of 18 gauge wire, 3 inches long
- 28 gauge wire for weaving
- Round nose pliers
- Chain nose pliers
- Flush cutters
- Chasing hammer (with convex edge)
- Steel bench block
- Bracelet mandrel or a round object like a jar, tape roll, or spool
- Ruler
- Sharpie
Step-by-Step Instructions:
-
Prepare the 16 Gauge Wire:
- Place your 16 gauge wire on the steel bench block.
- Use the chasing hammer to flatten the wire. Hammer in a way that spreads the wire evenly by dropping and dragging the hammer.
- Flip and alternate sides to keep the wire straight.
-
Mark the Wire:
- Measure the wire with your ruler to confirm that it's 10 inches long. (The 16 gauge wire will be longer after hammering. That's okay).
- Mark the center of the wire. (At 5")
- Mark 3 inches on either side of the center to indicate the weaving area (6 inches total. This will create a small cuff. Add 1" for a medium and 2" for a large cuff).
-
Set Up for Weaving:
- Load the wires in a spring clamp to hold them in place.
- Cut a length of 28 gauge wire from the spool and start wrapping it around the bottom 18 gauge wire three times to anchor it.
-
Weave the Wire:
- Begin a figure-eight weave: go over the middle (flattened) 16 gauge wire, then under the next 18 gauge wire, and wrap it around twice.
- Repeat this pattern all the way to the other end, ensuring the weave is tight and even.
-
Create the Swirls:
- Once the weave is complete, create decorative swirls at the ends of the wires.
- Use round nose pliers to start the swirls and flat nose pliers to perfect their shape.
- Trim any excess wire with flush cutters, leaving enough to form small, even swirls on both ends.
-
Hammer the Ends:
- Use the chasing hammer to flatten the ends of the swirls, adding dimension and texture.
- Gently tap the ends, making sure not to flatten too much to avoid thinning the wire.
-
File the Ends:
- Use a file to smooth out any sharp edges on the flattened ends.
- Ensure the ends are rounded and safe to wear.
-
Attach the Swirls:
- Pierce the weave with an awl where you want to attach the swirls.
- Feed a piece of 28 gauge wire through the hole and secure the swirls to the cuff by wrapping it tightly.
-
Create the Clasp:
- Flatten one end of the 3-inch 18 gauge wire with a hammer.
- File the flattened end smooth.
- Bend the wire into a hook shape using round nose pliers, ensuring it’s the correct size for your clasp.
- Attach the clasp by creating a loop at the other end and connecting it to the bracelet.
-
Shape the Bracelet:
- Wrap the bracelet around a mandrel or round object to form the cuff shape.
- Use a rubber mallet to harden the wire and shape it further if needed.
- Adjust the shape to be more oval if preferred, as this can fit more comfortably around the wrist.
-
Final Adjustments:
- Ensure all swirls and edges are smooth and properly aligned.
- Check the fit of the bracelet and the functionality of the clasp.
Congratulations! You've created your own "Olympia" bracelet! Enjoy wearing your handmade piece or gifting it to someone special.
I hope you enjoyed this tutorial and found it helpful in creating your own beautiful jewelry. If you have any questions or want to share your work, don't hesitate to reach out.
Happy weaving!

My name is Elizabeth Schultz and I'm the jewelry designer behind Ellie's Handcrafted Jewelry. I've been making jewelry for about 16 years and have been teaching jewelry making for a little over 3 years. My goal is to help others learn the beautiful art of wire weaving.

