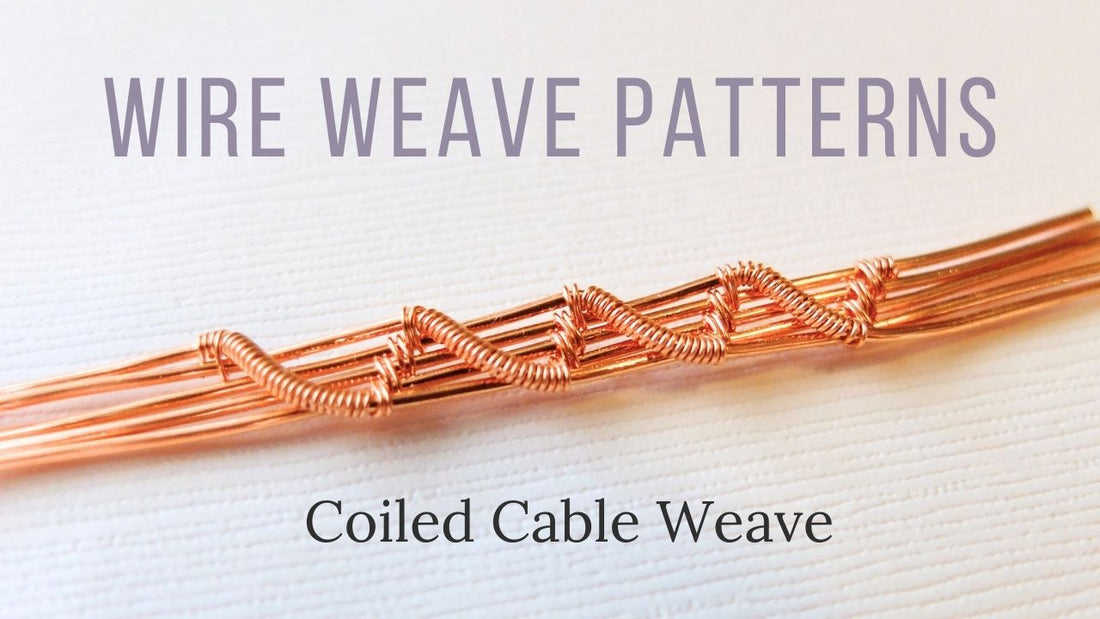
Mastering the Coiled Cable Weave: A Step-by-Step Guide
By Elizabeth Schultz
Materials Needed:
- List the materials required for the coiled cable weave:
- Five base wires (20 gauge)
- Weaving wire (28 gauge)
- Flat nose pliers
Step-by-Step Guide:
-
Initial Setup:
- Wrap the weaving wire around the bottom base wire three times.
-
Weaving Process:
- Wrap the weaving wire around the bottom two base wires two times.
- Continue wrapping around subsequent pairs of base wires two times each.
- Ensure even tension and alignment of wires.
-
Creating the Coil:
- Wrap the weaving wire around the top base wire to create a coil.
- Wrap the wire around the top base wire approximately 20 times.
- Adjust the tension as needed.
-
Descending the Coil:
- Gradually bring the coil downward by folding the wire.
- Use flat nose pliers to bend the wire for a parallel alignment with other wires.
-
Continuing the Weave:
- Resume the weaving process by wrapping around the bottom two base wires.
- Maintain consistency in wrapping and spacing.
-
Finishing Touches:
- Secure the weave by wrapping the weaving wire around the bottom base wires.
- Cut off any excess wire.
Want to use this weave to create a pendant? Check out this tutorial!
Additional Resources:
- Where I get my stones: https://CASDANS.com
- Where I get my wire & tools: https://riogrande.com
- Join the FB group!
- Sign up for the monthly newsletter to stay up to date on new videos, tutorials and more!

My name is Elizabeth Schultz and I'm the jewelry designer behind Ellie's Handcrafted Jewelry. I've been making jewelry for about 16 years and have been teaching jewelry making for a little over 3 years. My goal is to help others learn the beautiful art of wire weaving.

